

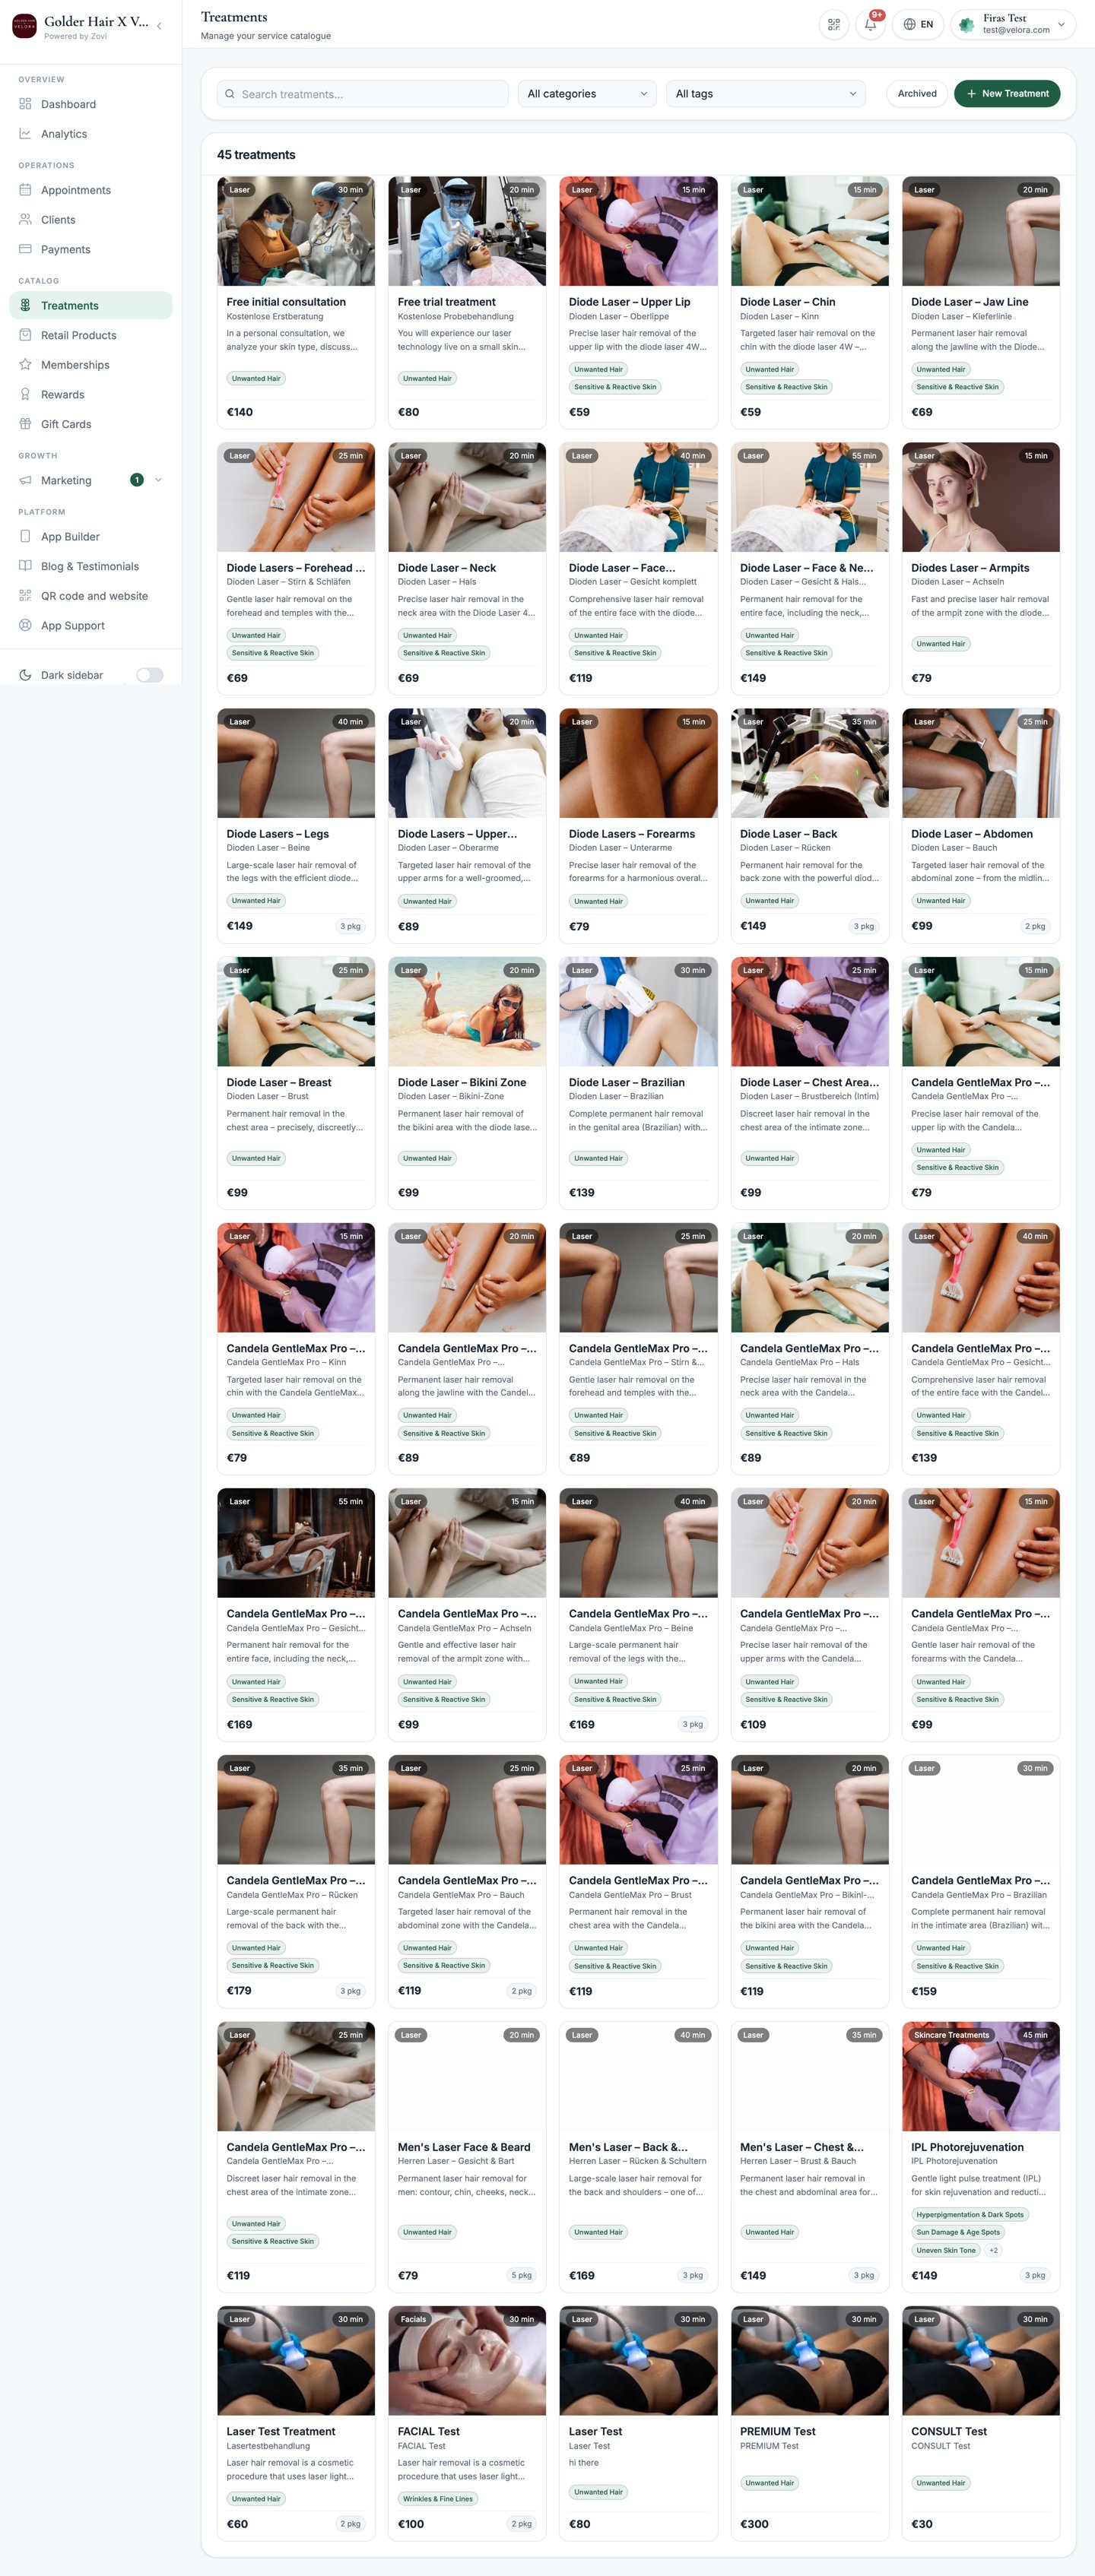
Screenshot: the Treatments list with search, category and tag filters, the Active/Archived toggle, and the New Treatment button in the top-right.
The treatments list
Each treatment appears as a card showing its hero image, category pill, duration ({n} min), name, price, the concerns it targets, and a N pkg badge if it has
course packages. Hover over a card to reveal Edit, Duplicate, and
Archive.
Use the controls at the top to find a treatment:
Create a treatment
Select New Treatment in the top-right. The dialog is organised into tabs: Basics, Content, Before & After, Testimonials, Media, and Packages. Only Basics is required to save; the rest enrich how the treatment looks in the app.1
Fill in the Basics
Set the essentials on the Basics tab. Name, Price (€), and
Duration are required.
2
Add content and media (optional)
Move through the Content, Before & After, Testimonials, and
Media tabs to describe the treatment and add photos.
3
Add course packages (optional)
On the Packages tab, add discounted multi-session courses.
4
Save
Select Create Treatment. You’ll see a Treatment created confirmation,
and the treatment appears in your list, and in the client app.
Basics
The field is labelled Price (€) whatever currency you run on. Ignore the
euro sign: the amount you type is charged and displayed in your clinic’s own
currency, set under Business info.
Recommended For describes the treatment, not the client. Clients use it as
a filter when they browse, so a beard-sculpting treatment set to
Men shows up
when someone filters that way. Left as Everyone, the treatment stays visible
to everybody.It also feeds Zovi’s recommendation engine. Set it to anything other than
Everyone and the treatment becomes more likely to be recommended to a client
who matches, so it does more than filter browsing.Content
Write the marketing copy clients read before booking:- About this treatment: what it is and what it does.
- Why this treatment?: the benefits and the results to expect.
Before & After
Set expectations around the visit:- Before your treatment: how clients should prepare.
- Aftercare: what to do afterwards.
Testimonials
Add social proof. Each testimonial is repeatable, with a Quote (required), an Author name, and optional Before / After images. Add as many as you like.Media
- Hero Image: the main photo on the treatment card and detail page.
- Gallery: additional images clients can browse.
- Pick from library: open a grid of stock photos to use instead of your own.
Photos you upload yourself stay private to your clinic. They are never added to
the shared stock library that other clinics see.
Packages
Packages (also called course variations) are discounted bundles of multiple sessions. A client picks one package at checkout.
Every package is fully editable in place. Reopen the treatment, change any field
on an existing package, and save. You don’t have to delete a package and rebuild
it to correct it.
A package’s External Booking URL overrides the treatment’s own booking URL
for that one package. It’s useful when your booking platform has a dedicated link
for a specific course.
Duplicate a treatment
To create a near-identical treatment, hover its card and select Duplicate. This copies every field into a new draft you can rename and adjust, handy for variants that share most of their details.Archive and restore
Treatments are never deleted. They’re archived, so historical bookings and records stay intact.1
Archive
Hover the treatment card and select Archive. It’s hidden from the client
app and moves to the Archived view.
2
Restore
Switch the list to Archived, find the treatment, and restore it to bring
it back to Active.
Injectable treatments are automatically flagged as health-and-wellness
sensitive. This limits free-treatment rewards from applying to them, see the
rule in Loyalty & rewards.
Related
Concerns
Manage the skin concerns you tag treatments with.
Memberships
Bundle treatments into recurring plans with member discounts.