

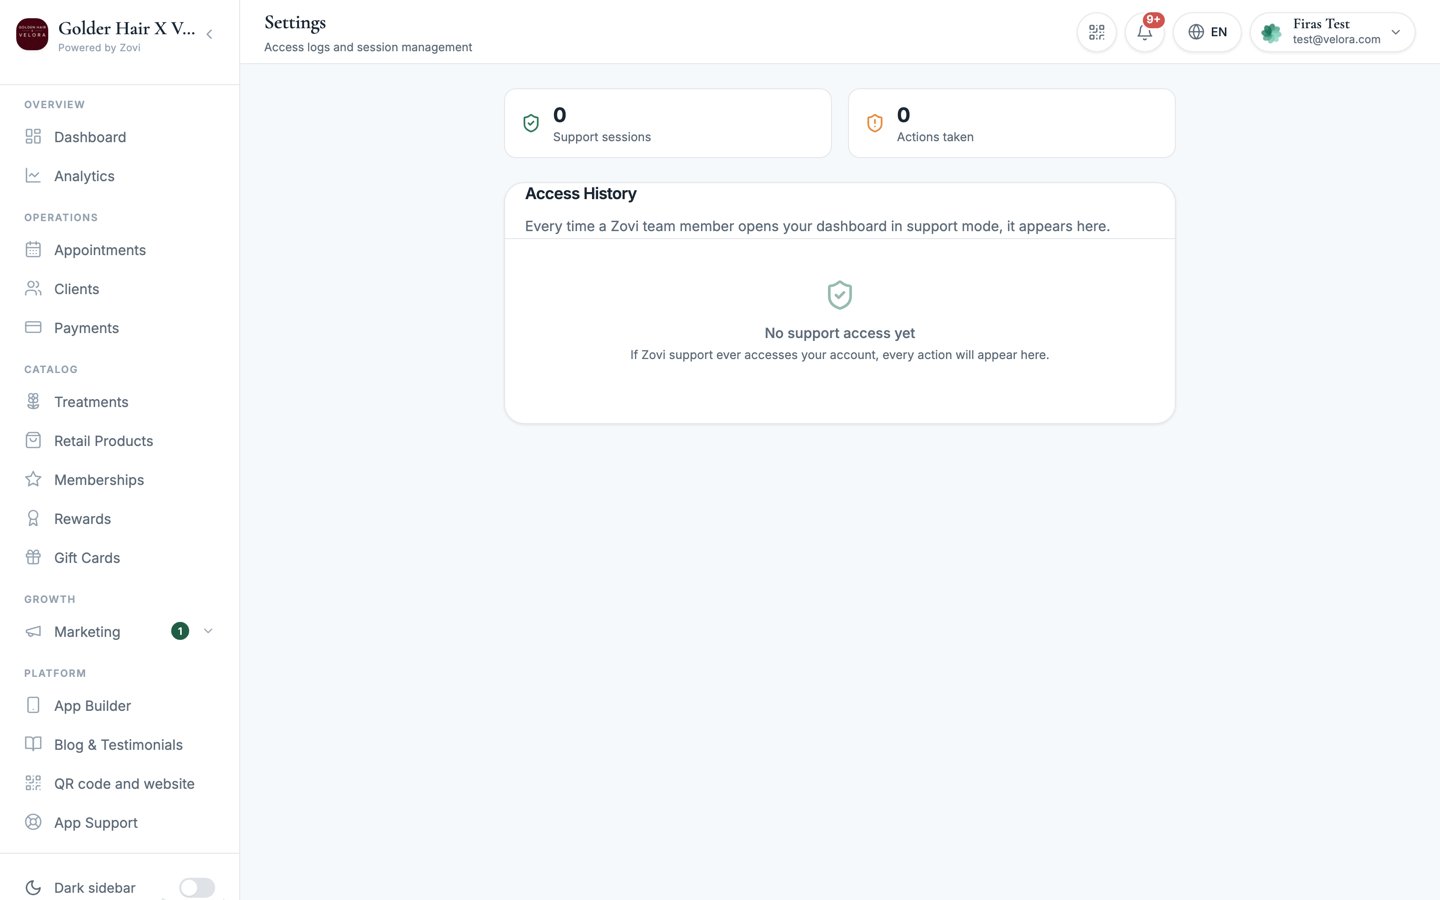
Screenshot: the Security page showing the Two-Factor Authentication card above the Access History list of Zovi support sessions.
Two-factor authentication
The Two-Factor Authentication card sits at the top of the page, above the Access History. Turn it on and Zovi emails a 6-digit code to your address to confirm it’s really you when you sign in. Someone who knows your password still can’t get in without the code.1
Turn on Two-Factor Authentication
Open Security and switch on Two-Factor Authentication.
2
Choose how often you're asked
Pick how often Zovi should ask for a code:
3
Select Save changes
Your choice applies from your next sign-in.
Signing in with two-factor on
With two-factor on, signing in has one extra step:1
Enter your email and password as usual
Zovi then asks you to check your email.
2
Enter the 6-digit code
Open the email from Zovi and type the code into the sign-in screen.
3
If the email doesn't arrive, select Resend code
Resend code sends a fresh one. There’s a 45-second cooldown before you
can ask again, and the button counts down so you can see when it’s ready. The
same screen has a link to use a different account if you signed in with the
wrong email.
What Access History shows
Sometimes Zovi support needs to look at your dashboard to resolve a ticket. This is called a support session (or support mode). Every one of those sessions is logged here so nothing happens behind your back. Each entry records:- Support sessions: when a Zovi support agent accessed your dashboard, and for how long.
- Actions taken: what the agent did during the session, if anything.
- View only: a badge marking sessions where support could look but made no changes.
Access History is read-only. It’s an audit trail you review, not
something you edit or configure. There’s nothing to turn on or off in this
section.
Related
Your profile
Change your password and personal preferences.
Getting help from Zovi
Raise a ticket if you have a security question.