

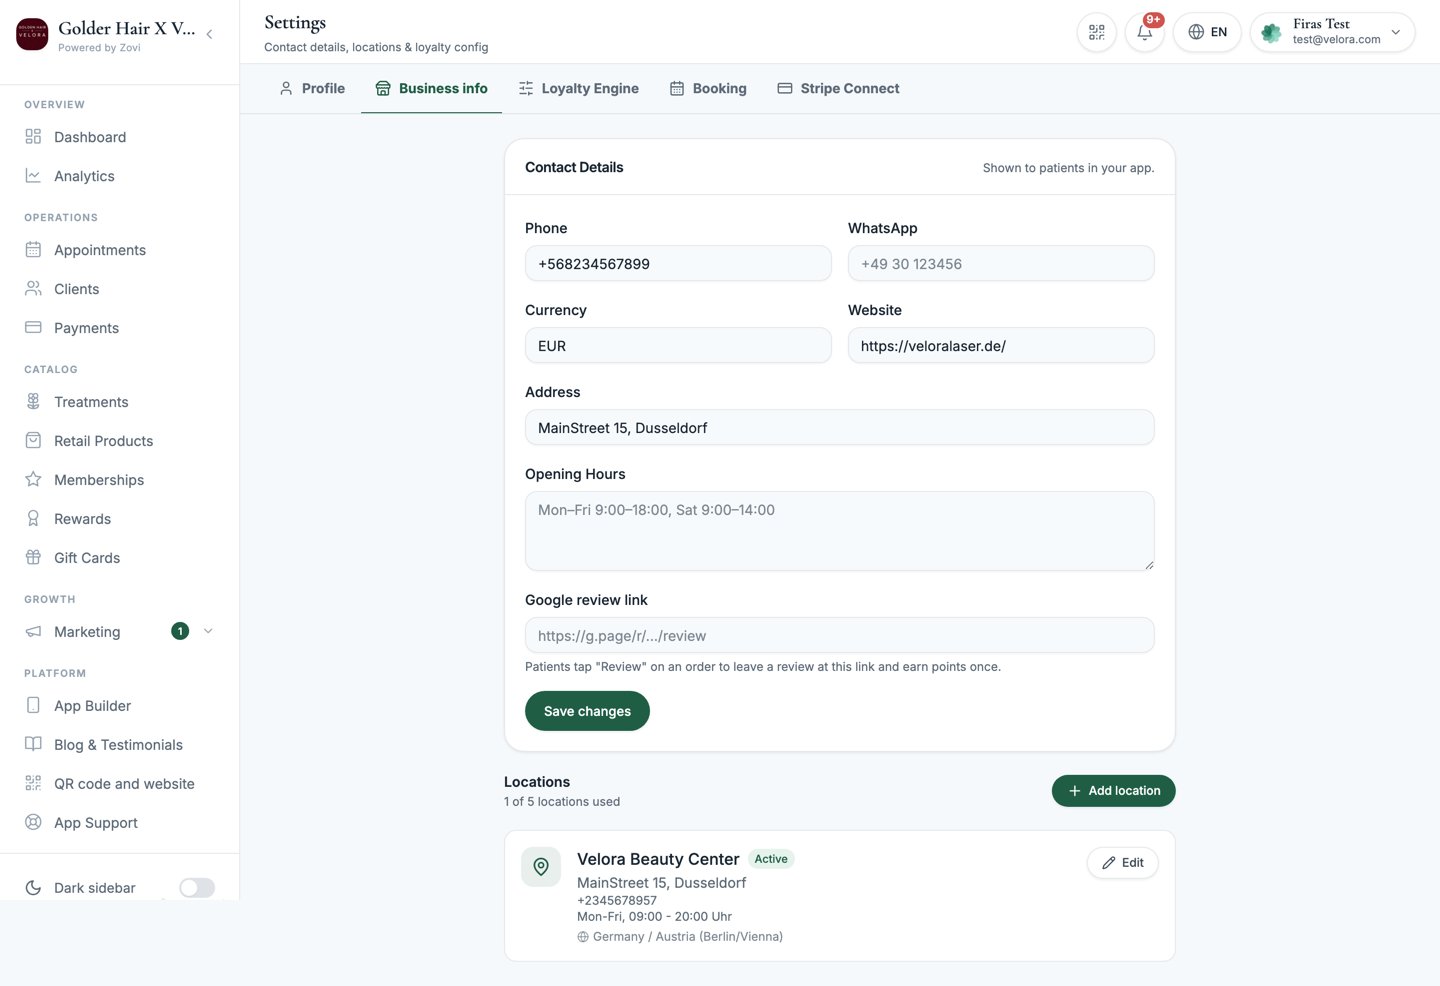
Screenshot: the Business info page with the Contact Details card at the top and the Locations list below.
Contact details
The Contact Details card is what clients see about your clinic in the app. It is labelled “Shown to clients in your app”. Fill in each field and select Save changes.Opening hours
Opening Hours is a day-by-day editor, not a free-text box. Set an open time and a close time for each weekday, or mark a day Closed. Each location has its own opening hours in the same format.Google review link
Paste the review link you want clients sent to. When a client taps Review on one of their orders, they go straight to that link, and they earn points once for leaving you a review.Locations
Below your contact details is the list of locations your clinic runs. Each location has its own address, opening hours, and timezone. Add one for every branch you operate.Add a location
1
Select Add location
Open the new-location form.
2
Fill in the location details
Provide the location’s name, address, phone, opening hours,
WhatsApp number, and timezone. The timezone is used for scheduling
appointments at that branch.
3
Save
Save the location. It’s added to your list in Pending Review while Zovi
checks it over.
Assign the staff who work at a new location from Teams.
There’s no separate QR code to set up: your clinic has one check-in code that
covers every location, and clients pick their preferred location in the app.
See Your clinic check-in code below.
Location statuses
Your location allowance
The Locations section shows how many locations you’ve used out of your allowance. If you’ve reached it, the dashboard tells you and won’t let you add another.Your clinic check-in code
Your clinic has one join code and matching QR code that clients scan to join your app and check in. Because the code is clinic-wide, the same code works across every location. You can copy it, regenerate it, and download print-ready images from the QR code and website page. For everything you can do with the code, including downloading print-ready QR images and sharing your clinic app link, see QR code and website.Related
QR code and website
Copy, regenerate, and download your clinic join code, and share your app link.
Booking settings
Choose how clients book and configure your slots.