

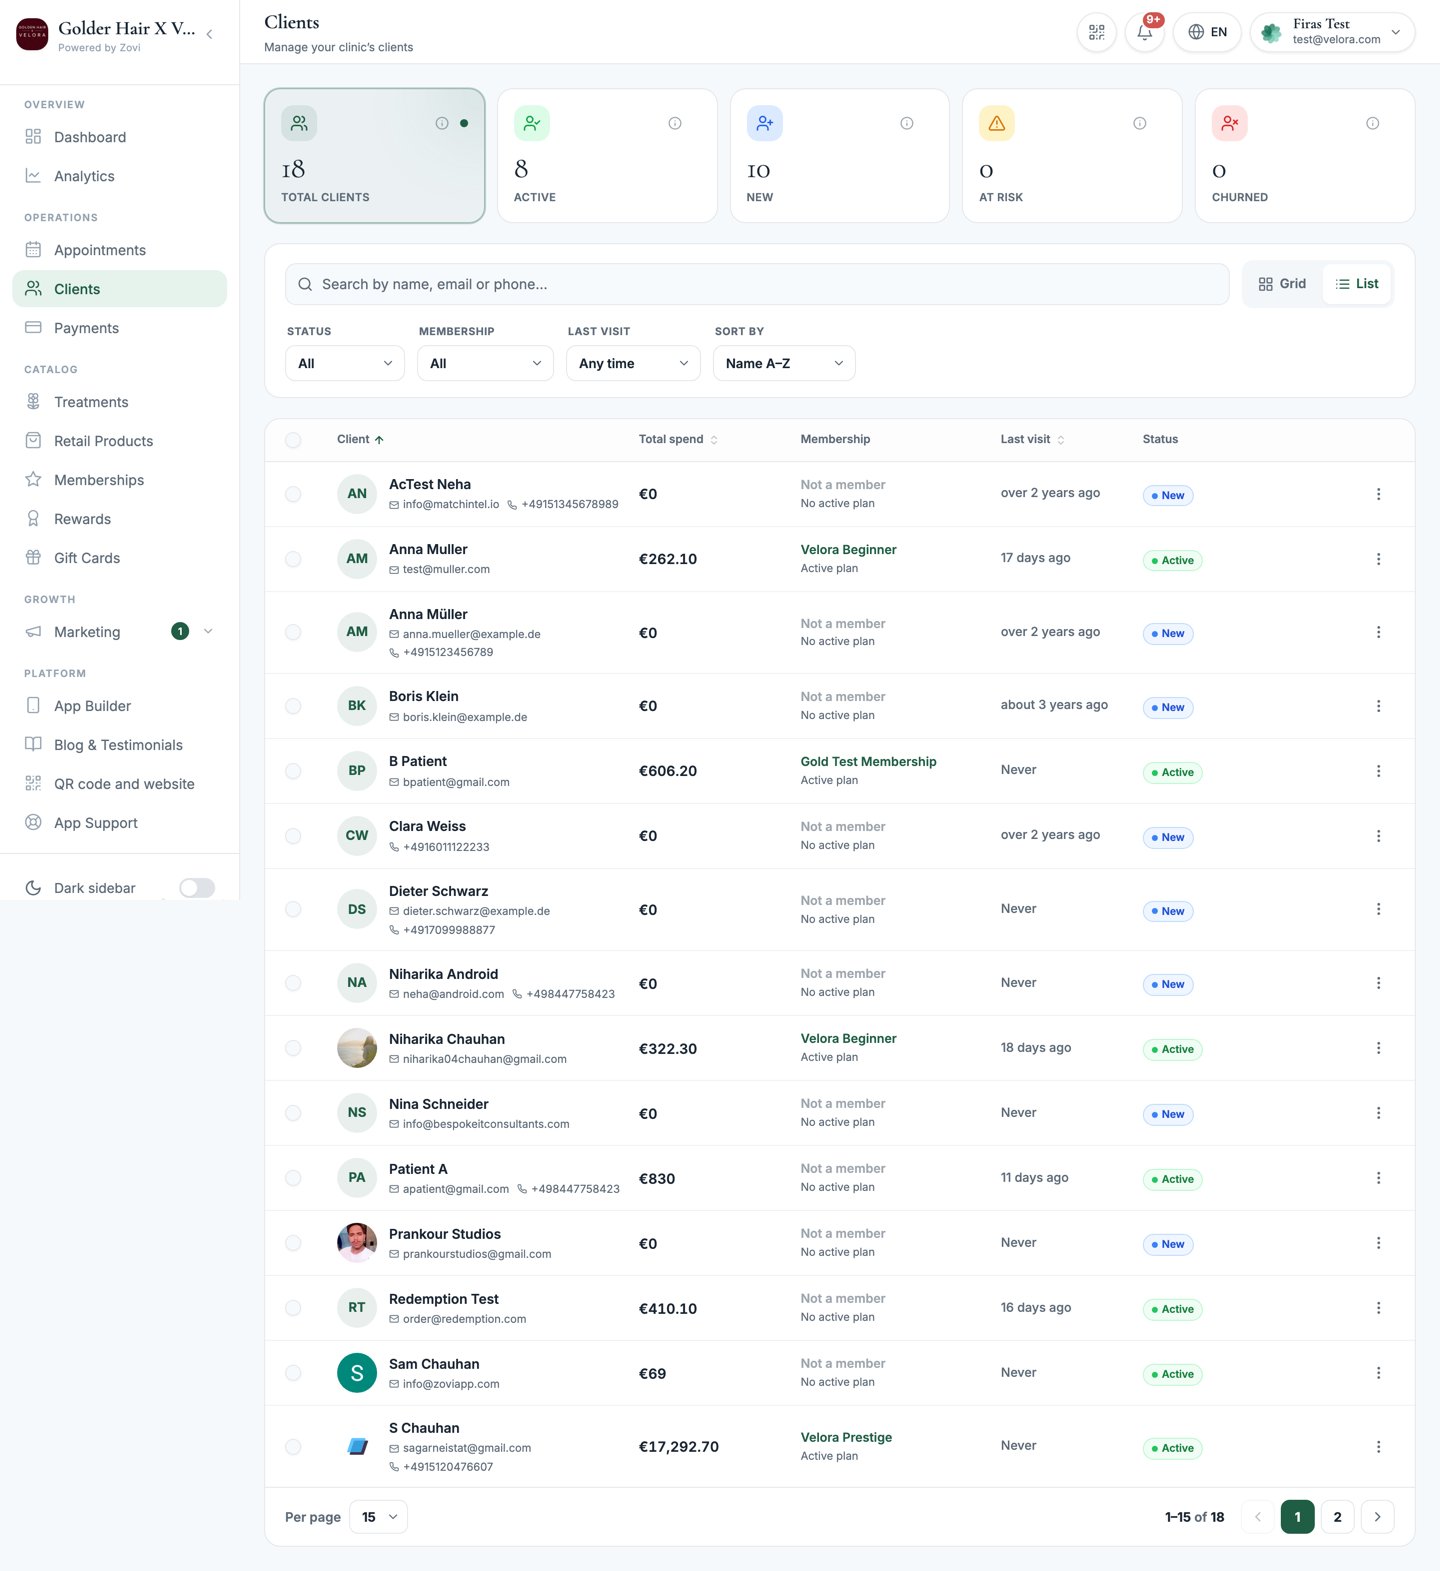
Screenshot: the Clients list with the stat cards across the top, the search and Grid/List toolbar, and client cards below.
Two tabs: All Clients and Acquisition
At the top of the page you’ll find two tabs:- All Clients: every client on your books. This is the tab you’ll use most.
- Acquisition: where your new clients are coming from, so you can see how well referrals and your join QR code are working. It’s also where you import a client list, see Acquisition below.
If you have more than one location, the list respects the location you’ve
selected in the top bar. Owners can switch between branches; managers and staff
see their own branch.
The stat cards are filters
Across the top of All Clients are five stat cards. Each one shows a count, and each one is clickable. Select a card to instantly filter the list to just those clients. Select it again to clear the filter.Find and filter clients
The toolbar under the stat cards is how you narrow the list down and change how it looks.Search
Type in the search box to find a client by name, email, or phone number. Results update as you type.Grid or list
Use the Grid / List toggle to switch how clients are shown:- Grid shows each client as a card, good for scanning faces and headline numbers.
- List shows each client as a row: denser, sortable, and it unlocks bulk actions (see below).
Filters and sorting
Refine the list with:- Status: filter by lifecycle stage (Active, New, At risk, Churned).
- Membership: show only members, or clients on a specific plan.
- Last visit: filter by how recently a client was seen.
- Sort by: reorder the list (for example, by most recently seen or most spent).

Screenshot: the toolbar close-up showing the search box, Grid/List toggle, and the Status, Membership, Last visit, and Sort by filters.
What’s on a card vs a row
Whether you’re in grid or list view, each client shows the three numbers that matter most at a glance:
Grid cards show these prominently under the client’s name and status. List
rows show the same figures in columns so you can compare clients quickly.
Quick actions on each client
Every client has a menu of quick actions. On a card it’s the ⋮ menu; in a row it’s the actions at the end of the line. Without opening the full profile, you can:- Book appointment: start a booking with this client pre-selected. See the appointments calendar.
- Send offer: open the offer builder already targeted at this client. See Offers & rewards.
- Custom plan: build a client-specific bundle for this client. See Custom plans.
- View profile: open the client’s full profile.
Bulk actions in list view
Switch to List view to work on several clients at once. Select the clients you want using the checkboxes, then choose a bulk action:- Message: send a message to everyone you’ve selected.
- Export CSV: download the selected clients as a spreadsheet.
Bulk actions appear once you’ve selected at least one client in list view. In
grid view, use each card’s ⋮ menu for one client at a time.
Acquisition
The Acquisition tab shows where your new clients came from, and it’s where you bring an existing client list into Zovi.Import a client list
When you upload a spreadsheet of clients, you’re asked which branch these clients belong to before the import runs. A spreadsheet can’t tell Zovi which location a client belongs to, and guessing would file everyone under the wrong branch and skew their offers for good. Single-location clinics don’t see this step at all.Invites
Clients you import are invited automatically. Invites wait for your clinic’s evening send window, so they land at a sensible hour rather than the moment you finish the import.- To get one out straight away, use the send now action on a queued row.
- Removing a queued row cancels that invite.
Open a client’s profile
Select any client, or use View profile from their menu, to open their full record. That’s where you’ll find their history, memberships, rewards, offers, and the complete client journey.Open the client profile
Everything you can see and do for one client, tab by tab.