

Your first sign-in as clinic owner
When Zovi sets your clinic up, you receive a Welcome to Zovi email. That email is how you get in the first time.1
Open the link in your welcome email
The Welcome to Zovi email contains a sign-in link that is valid for
7 days. Open it and you’re signed straight in, with no password to type.
2
Set your password
A Set your password panel appears and can’t be dismissed. Choose your own
password (at least 8 characters) before you start using the dashboard. The same
panel appears if you sign in with your email and password instead of the link.
3
Accept the Data Processing Agreement
If you haven’t accepted the Data Processing Agreement yet, the password step
comes first and the agreement follows.
The welcome link stops working as soon as you set a real password. That’s by
design: from then on you sign in with the password you chose.
Sign in
1
Open the dashboard
Go to dashboard.zoviapp.com. Enter your email address
and password (at least 8 characters) and select Sign in.
2
Accept the agreement (first time only)
On your first sign-in you’re asked to accept the Data Processing Agreement and
Terms before continuing.
Forgot your password?
Select Forgot password? on the sign-in page and enter your email address. If an account exists for that address, Zovi emails you a link to choose a new password. For security, you see the same confirmation either way, whether or not an account exists. The link is valid for 60 minutes. Setting a new password signs you out on every device, so sign in again anywhere else you use the dashboard.Invited to a clinic as a team member? Use the link in your invitation email to
set your own password. Zovi doesn’t send staff a temporary password to share.
See Teams: staff & permissions.
The layout
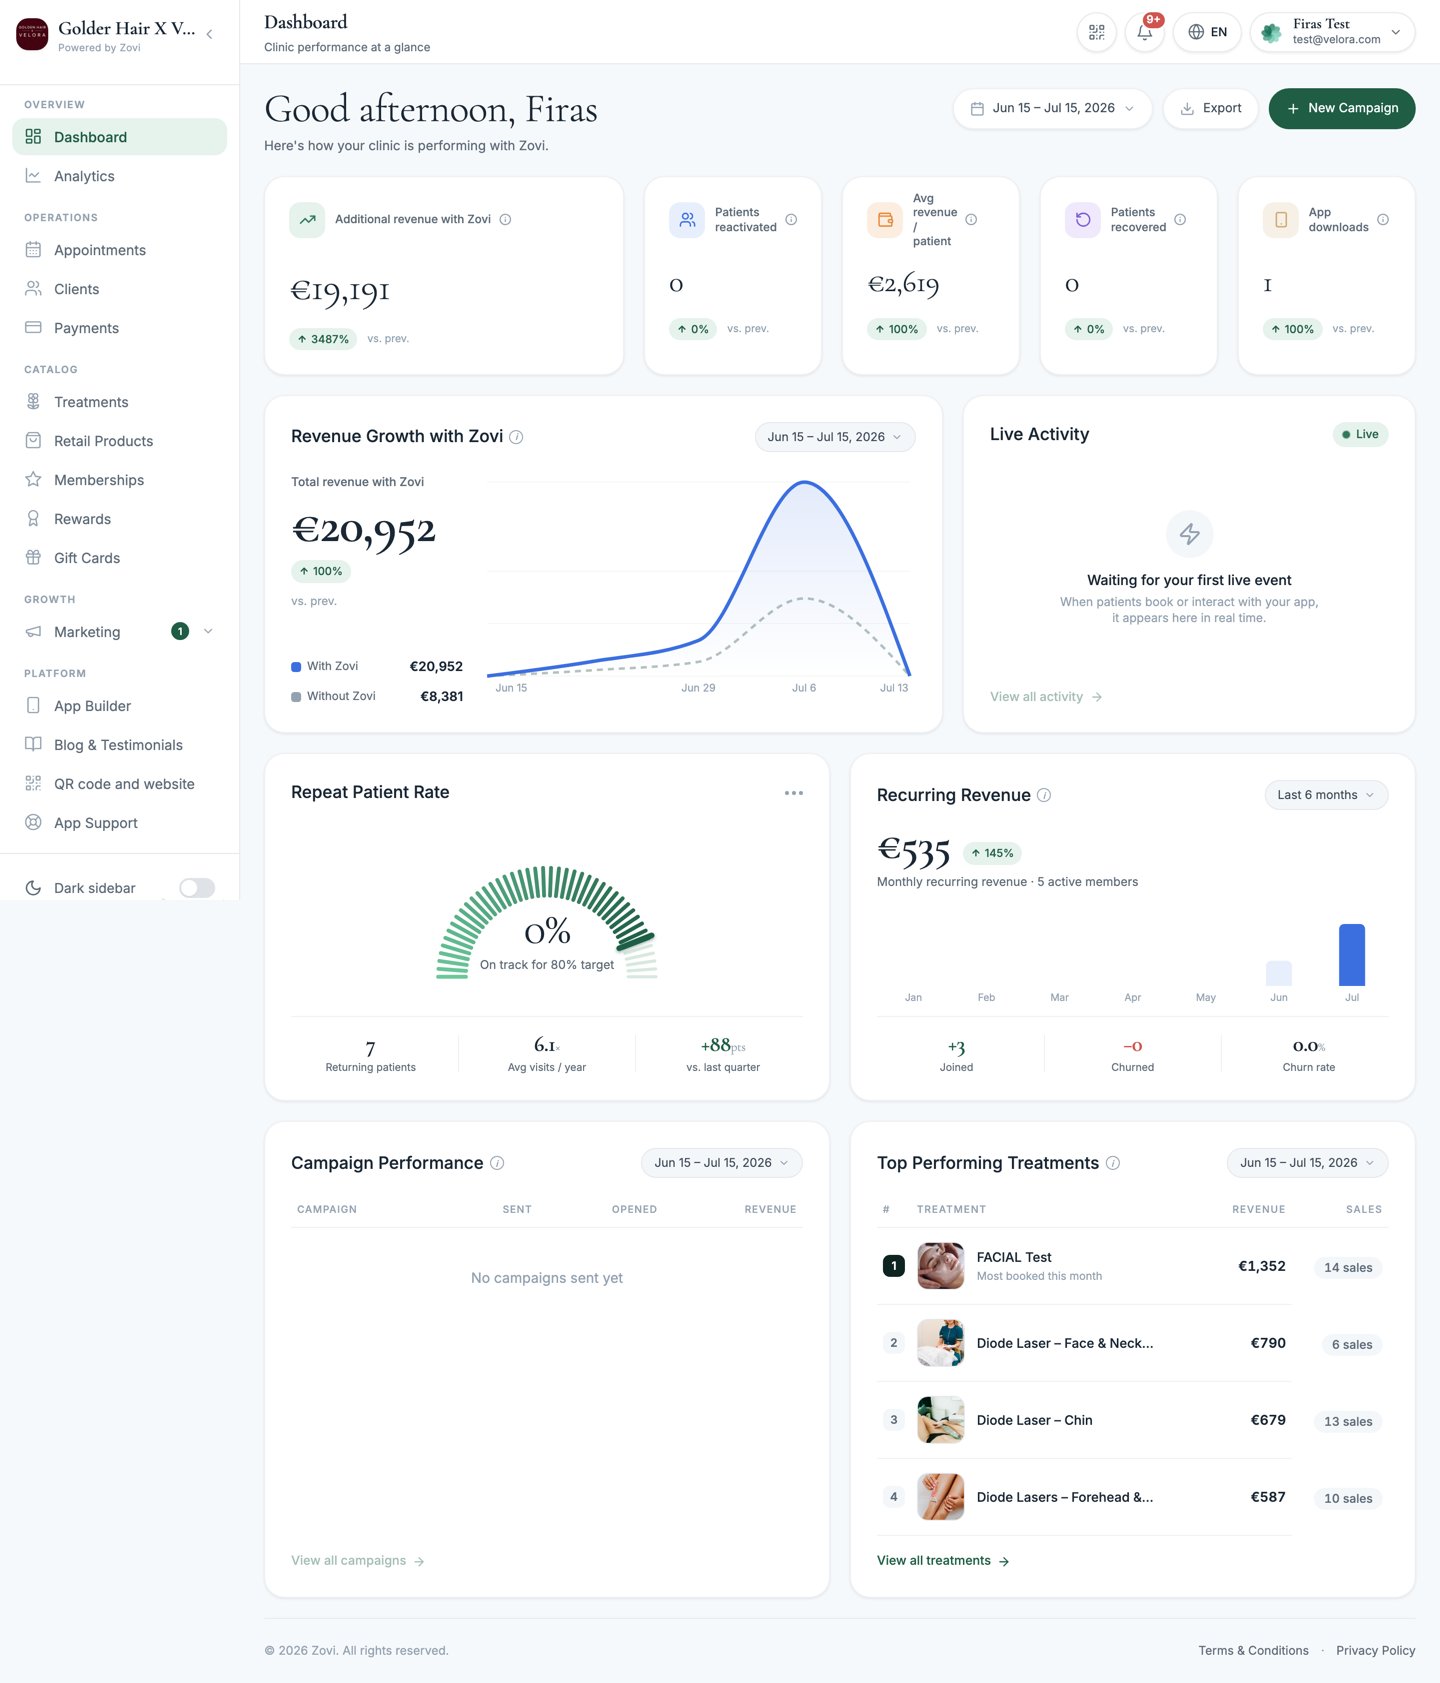
The dashboard shell: sidebar navigation (left), the top bar with the location switcher and Scan QR (top), and your content in the middle.
The sidebar
The sidebar groups everything you can do. You only see the items your role has access to.Settings is no longer a sidebar item. You reach it from the account menu in
the top-right header (click your account name or avatar).
The top bar
- Page title: the name of the screen you’re on.
- Location switcher: owners with more than one location can switch between branches or view All locations. Managers and staff are pinned to their branch.
- Scan QR: opens the scanner to check a client in.
- Notifications: the bell shows recent activity.
- Language: switch the dashboard between English and Deutsch (EN/DE).
- Account menu: Profile, Settings, Security, Roles & Permissions (shown to anyone with the staff permission, and it jumps straight to Teams), Zovi Help & Support, and Sign out.
Roles & permissions
Every team member has one of three roles. What they see and can change depends on their role and any fine-tuning you apply per person under Teams.Owner
Full, unrestricted access across all locations, including billing, app
publishing, and locations. Can’t be reduced.
Manager
Broad access, but automatically scoped to their branch, so their changes to
catalog, offers, schedules, and settings apply to their location only.
Staff
Day-to-day access: clients, bookings, and scanning clients in.
Where to next
Set up your clinic
Follow the first-run checklist to get live.
Add your team
Invite staff and set their permissions.