

Some steps are owner-only (connecting payments, publishing the app, managing
locations). If you’re a manager or staff member, ask your clinic owner to
complete those.
Your path to launch
New clinics get a floating Your path to launch panel, docked to the bottom-right of the dashboard. It appears on every page, not just the home screen, so you can pick the checklist up wherever you are. The panel shows your progress (“4 of 10 complete”) and a tick-list of the ten things to finish before you go live. Each item is a link straight to the screen where you do it.- Add / Review your treatments
- Add / Review your membership plans
- Add / Review your retail products
- Add / Review your rewards
- Connect Stripe to accept payments
- Add your clinic logo and brand colors
- Invite your team
- Review your discount guardrails
- Approve your seasonal calendar
- Review your automatic offers
The four catalog items read Add while you have nothing yet, and switch to
Review once you’ve added something. Clicking through while the screen is
still empty doesn’t tick them.
1. Set your business details
1
Add contact details and currency
Open Settings from the account menu in the top-right, then go to
Business info and fill in your phone, WhatsApp, address, opening hours,
and currency (for example, EUR, CHF, or GBP). These appear to clients in
your app. See Business info & locations.
2
Add your locations
Add each branch with its address and opening hours. Your clinic shares one
join code for clients, so you do not manage a separate code per location.
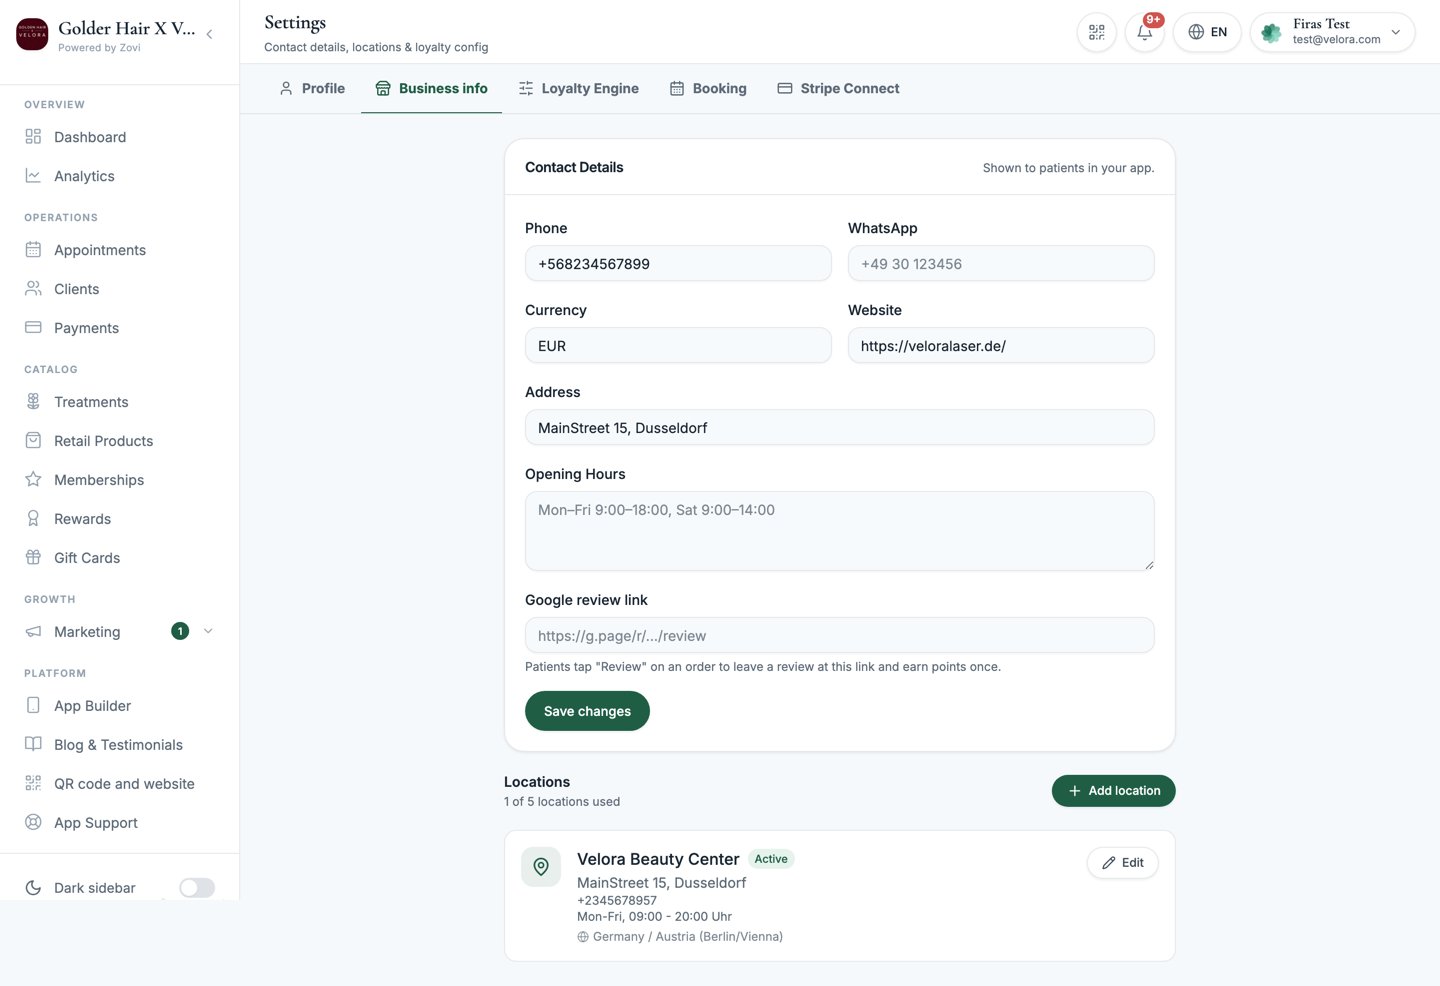
Screenshot: the Business info settings with contact details, opening hours, currency, and the location list.
2. Connect payments
1
Connect Stripe
Go to Settings → Stripe Connect (or Payments → Stripe Account) and
connect your Stripe account so clients can check out and pay. Until this is
done, clients can’t buy anything. See Payments.
3. Build your catalog
This is what clients browse and book in the app.1
Add treatments
Add your services with prices, durations, photos, and the concerns they
address. See Treatments.
2
Add memberships (optional)
Create recurring plans with member discounts and included treatments. See
Memberships.
3
Add retail products (optional)
Sell skincare and aftercare alongside treatments. See
Retail products.
4
Set up loyalty & rewards
Choose how clients earn points and create rewards they can unlock. See
Loyalty & rewards.
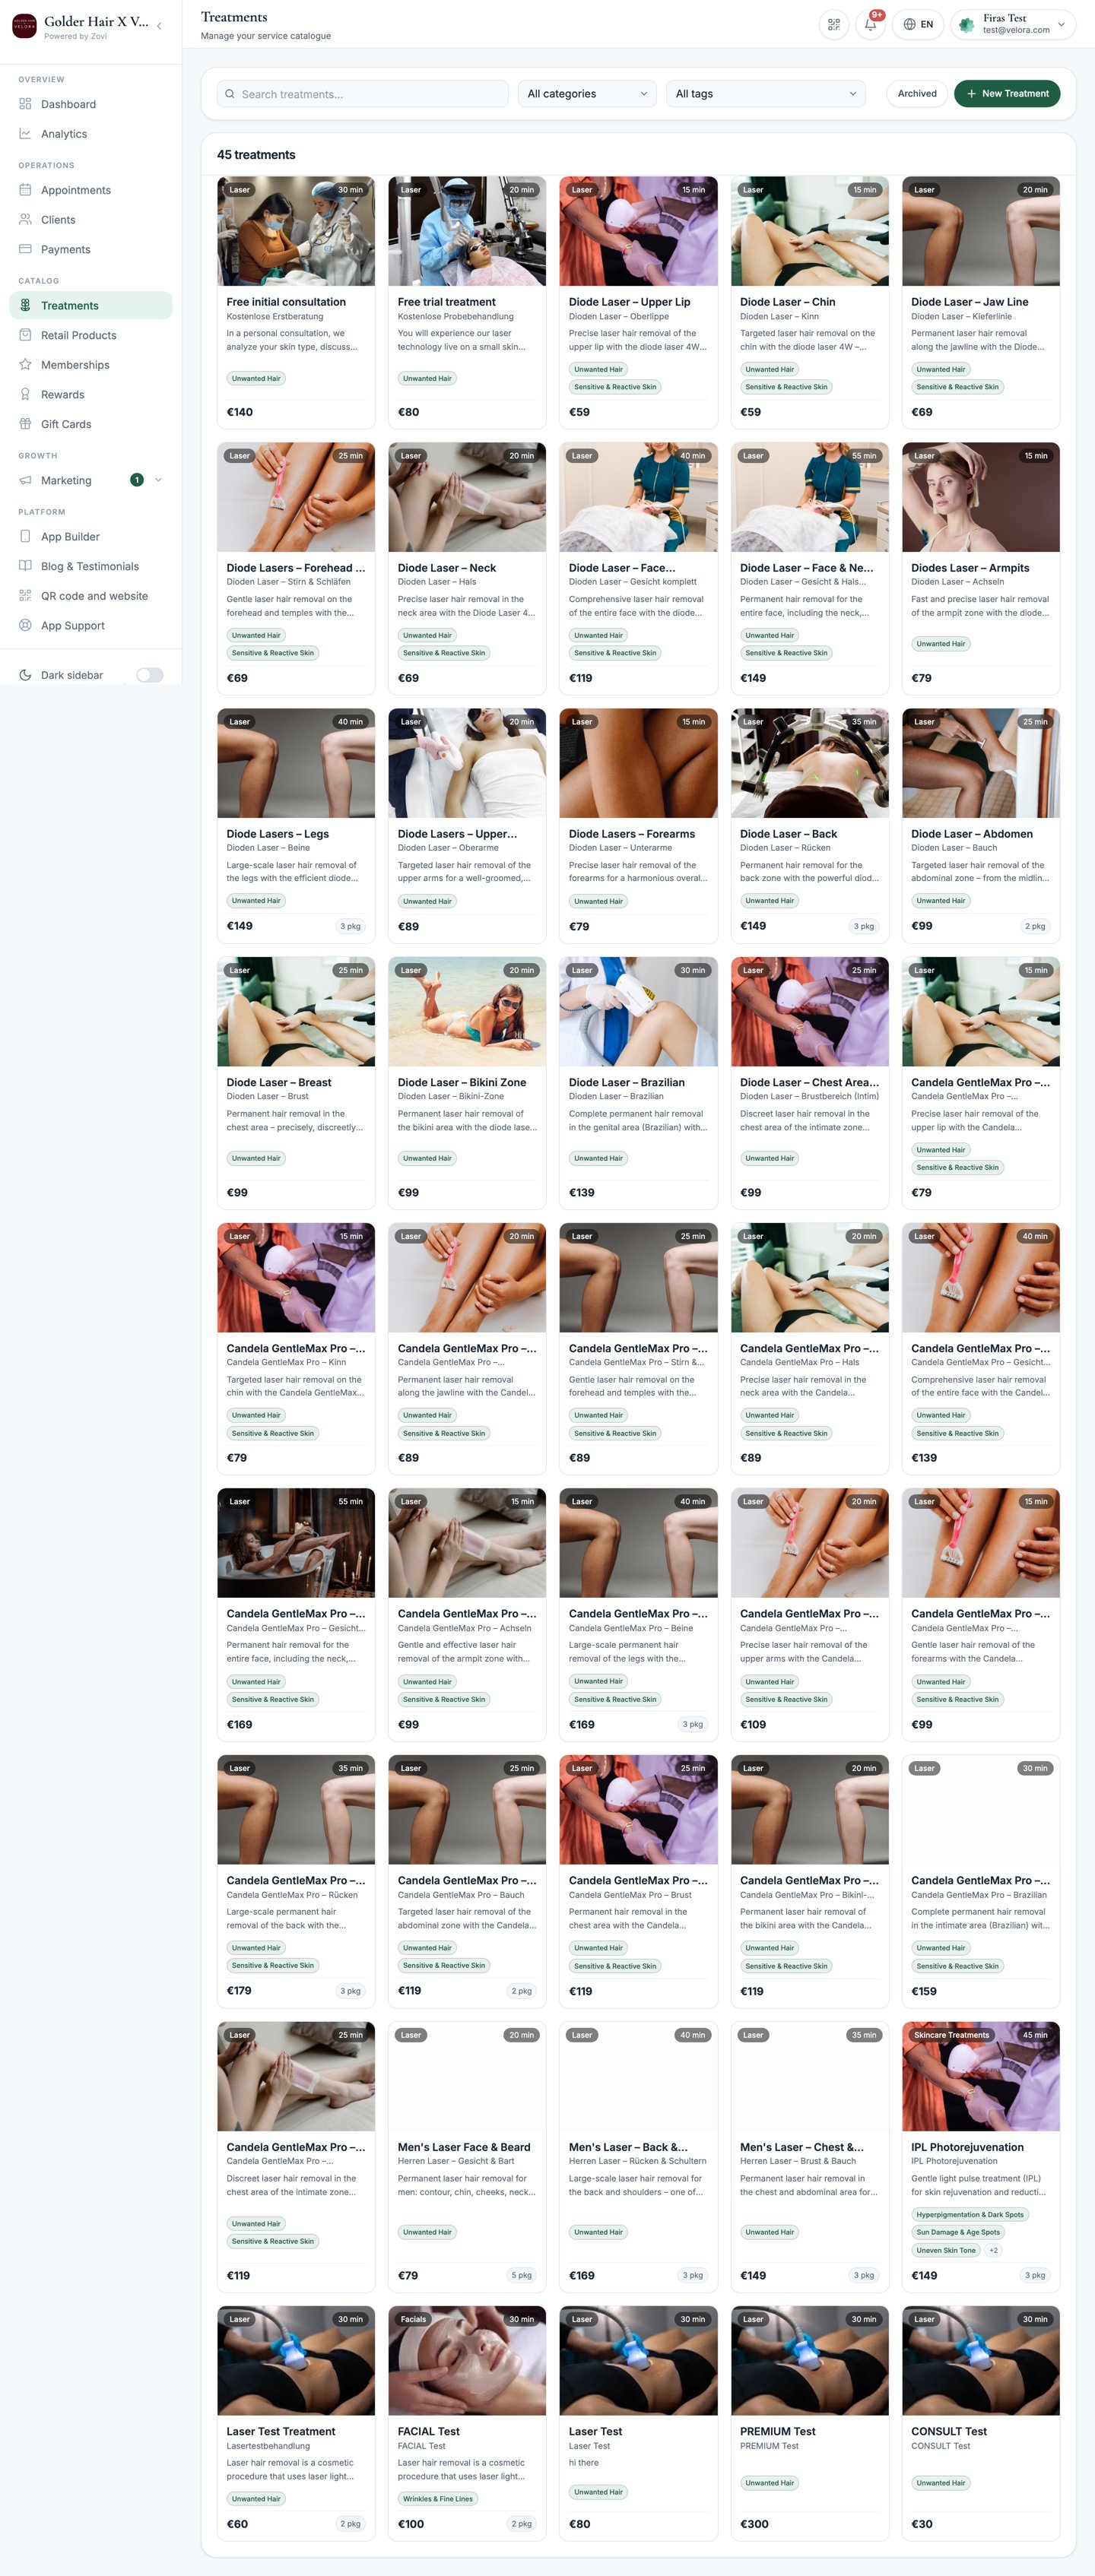
Screenshot: the Treatments catalog grid, where you add the services clients browse, book, and buy.
4. Customise and publish your app
1
Customise the app
In App Builder → App Customisation, set your brand name, logo, colors, and
hero image, and choose which concerns and content appear. See
Your app.
2
Publish
Select Publish to push your changes live. They reach the Beauty Circle App
within about 60 seconds. See
Publish your changes.
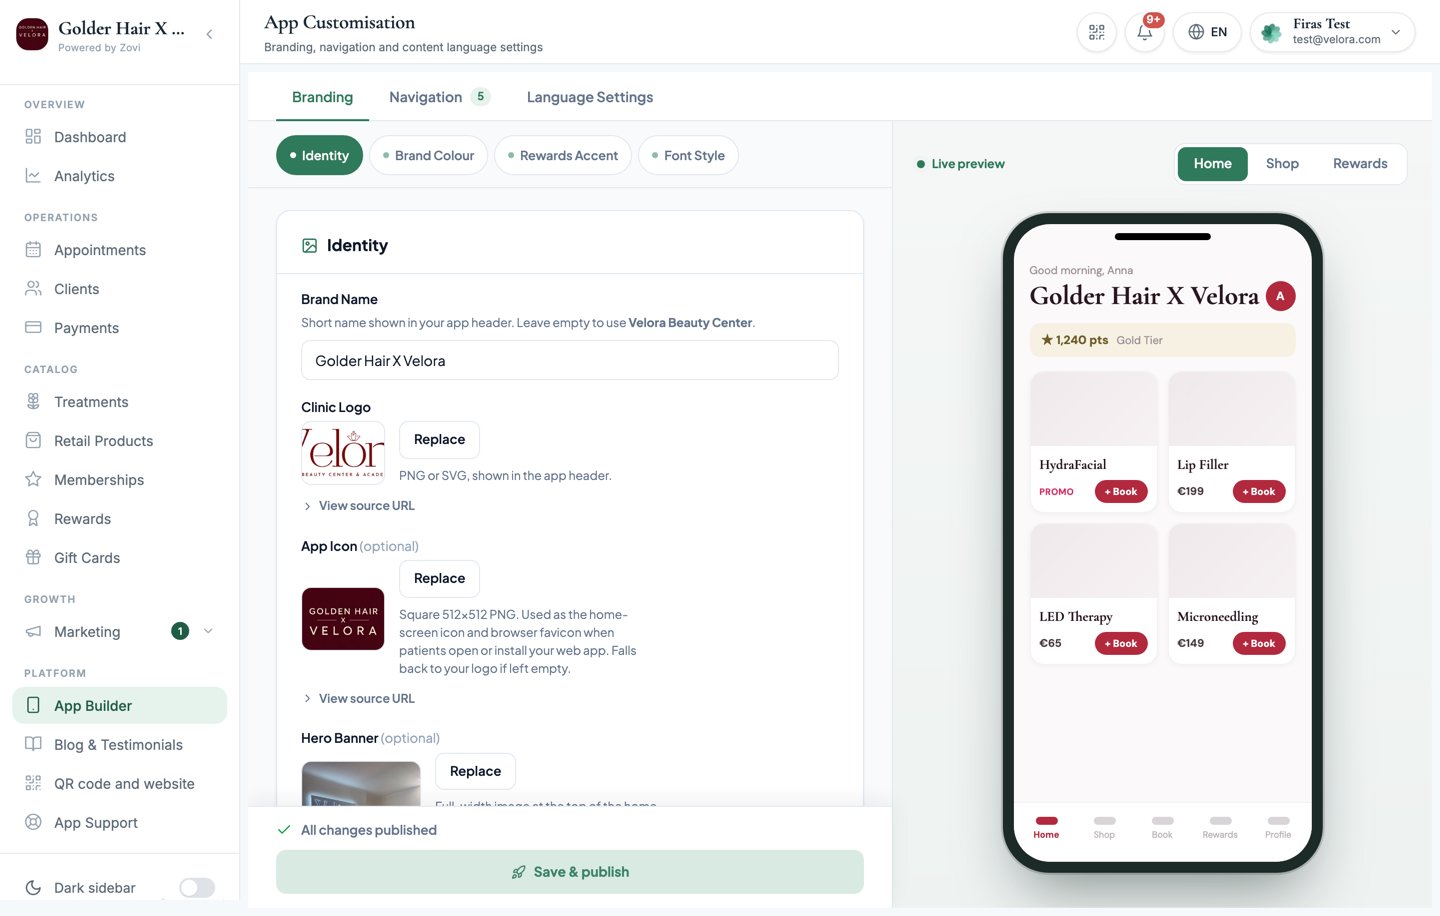
Screenshot: App Builder on the App Customisation tab, with the branding fields on the left and the live phone preview on the right.
5. Add your team
1
Invite staff
Go to Teams, add each team member, choose their role, and set their
permissions and working hours. Each person receives an email invitation and
sets their own password from the link inside it. See
Staff & permissions.
Owner appears in the role list but is greyed out and can’t be selected.
Every clinic has a single owner, set when the clinic is created.
6. Bring in your clients
1
Share your join code
From QR code and website under the Platform group, share your clinic’s
single join code, QR, or link so clients can install your app and join. You can
also share your clinic website link in an Instagram bio or social post so
visitors browse your app instantly. See QR code and website.
2
Check clients in
When a client visits, use Scan QR in the top bar to check them in. They
earn points automatically. See Check clients in.
Once your catalog is live, payments are connected, and your app is published,
you’re ready to take real clients.
What’s next
Learn the client profile
See everything you can do from a client’s record.
Start marketing
Create offers, promo codes, and push campaigns.